

- << Back to Blogs index
Ground Penetrating Radar: A Short-ish Introduction
The Haruspex in Ancient Rome was a type of priest who could cut open a sheep and tell the will of the Gods just by looking at its entrails. Modern Utility surveyors might seem like a Haruspex sometimes, walking around with a lawnmower-like device, staring at some wiggles on a screen then somehow divining where the pipes and cables are beneath the concrete. But is it all as opaque as that? Well, in short, no. Ground Penetrating Radar is actually quite an easy-to-use tool once you understand a few key concepts. And it’s much less messy than using sheep entrails, too.
A Leica DS2000 being used to scan a Cambridge car park. Used along with a Geomax Zenith40 GNSS receiver
What Is Ground Penetrating Radar (GPR) and How Does It Work?
The first thing to say is that it’s not magic. A lot of the sales literature can give an image of the ground peeled back so that we can peer through like we’re blessed with Superman’s X-Ray vision. Those expecting to see nice clear pipes appear on their screen as soon as the instrument is turned on can end up disappointed. The reality is that it’s a geophysical technique that produces data, and though visualisation of that data has got better and better, it’s still a question of being able to process and interpret it so that it’s useful.
Proceq Live even allows you to view with augmented reality
There are plenty of different brands and products in the field of GPR, but they all essentially work in the same way. They transmit high frequency electromagnetic waves in the UHF/VHF frequency range of the radio spectrum and then interpret the reflections that are received. Just in case you’d forgotten, radar is an acronym for Radio Detection and Ranging (when you use sound and light, you get Sonar and Lidar respectively)
So, we’re pumping electromagnetic waves into the ground and we’re seeing what bounces back, and there are several factors that will affect that: antenna frequency (ie.200mHz etc.) , the power of the transmitter and the electrical properties of the ground below.
Matter Matters
GPR was first developed by the US military after their planes tried to use radar to land in the arctic and found that the distances were totally inaccurate to the ground - the radio waves had passed straight through the ice. What this shows is how hugely important it is to be aware of the medium you’re working in. And this is where things can get complicated. As a user, you need to be aware of how conductive the material you’re working above is in relation to other things. To help with this, geophysicists have assigned a numerical value to this Relative Dielectric Permittivity, or Dielectric Constant.
Table of relative dielectric permitivity (eR), electrical conductivity (σ), and velocity.
All this means that your Ground Penetrating Radar will go deeper from one day to another, depending on whether there has been rain, and if you have your dielectric constant set at the same number, all your estimated depths will suddenly be wrong. You get the most from your survey if you’re cognisant of what you’re scanning and with what frequency. This technology can penetrate thousands of metres beneath the ice in Greenland or struggle to see something a centimeter below the surface.
Frequency
The Greenland ice survey brings us neatly onto frequency. To see thousands of metres down, geophysicists used low frequency waves. Broadly, low frequencies are used to see deeper, and higher ones shallower. This is why products such as the Leica DS2000 have two frequencies: 250 MHz and 700 MHz. But that isn’t the only way of doing it, instead of this multi-frequency pulse radar, you can also use Continuous Wave Stepped Frequency to get a good picture of what’s below, like with the Proceq GS8000. As this is a short introduction, I’m not going to go into this more deeply now, especially as it has been covered by more intelligent people like Dr Daniel Bigman of learngpr.com:
Field Data and Processing
The GPR units from the links above both allow you to view your data in real time so you can analyse and mark out utilities (or whatever you’re seeing) as you go. The user simply does a line scan and looks for boomerang-shaped reflections called hyperbola. As the instrument knows where it is from the rolling of its wheels, you can roll back to where the feature you’ve seen is, and spray a mark. When working in this way, you have to be careful of polarity. Put simply, it matters what direction you travel over an object as to whether you see it, so you’ll need to work in a grid to avoid missing things.
This boomerang is a hyperbola
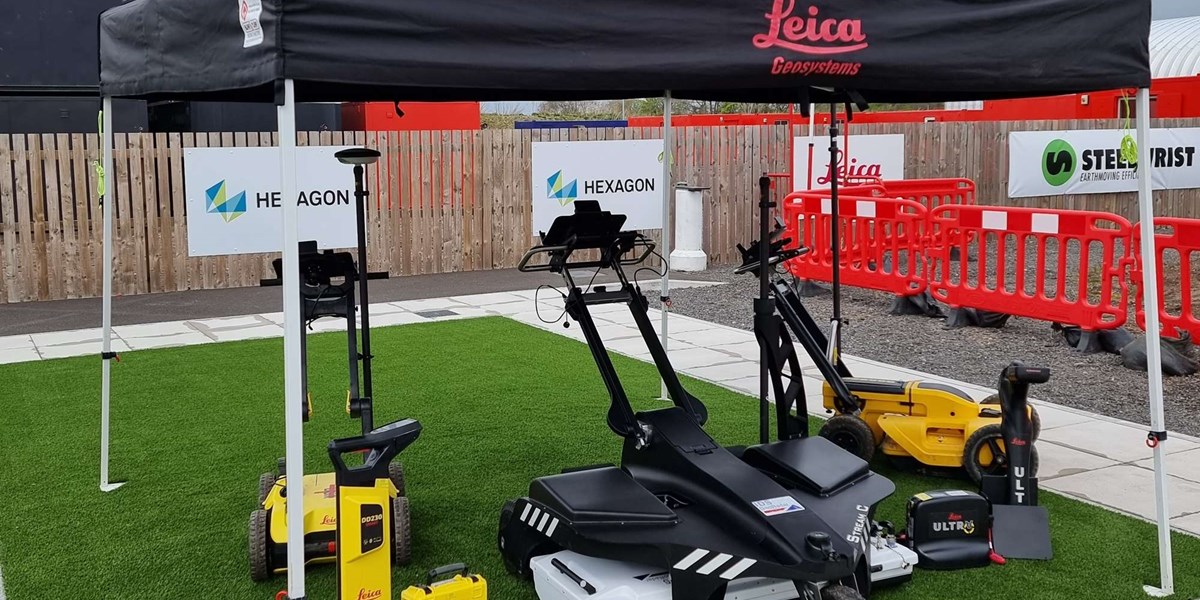
The second method is to take your readings in the field then process them in the office. With some GPR arrays, this is necessary as they have so many antennae pointing in different directions that it would be impossible to mark out in the field. This is the case with the IDS Stream-C, and though you can’t mark out in the field, it can be towed behind a car so you can map large areas very quickly and with a GNSS antenna it will be all geo-referenced so that it can be overlaid on other drawings, raster maps
The Stream C can be pushed along or attached to a vehicle
Context Is Key
We’ve already discussed how the ground conditions can change readings, but you can build up your awareness of context in so many other ways than just seeing that the ground is ‘proper moist’. A lot of people only know GPR from watching Time Team, but actually the field of archaeology serves as a good example to all industries that are employing GPR in their work. Always ask yourself what the context is and what other methods you can utilise to build up a better picture of what’s underground. On archaeological digs, earthworks might be traced initially with aerial lidar, investigated with trial pits and then GPR can be used to give a fuller picture of what else is there. You can compare your readings then with what you know is underground. It’s the same with a utility survey - Ground Penetrating Radar is not a replacement for your EML locators (CATs and gennies), rather it’s an extra tool in your belt to improve the map of underground ordnance that you have initially created with your cable locator. And in the case of structural investigation, a covermeter like the Proceq Profoscope will be the best way to quickly and accurately locate rebar, which will really inform your GPR survey. Used in combination with other technologies like this, and with a clear eye on both GPR’s strengths and limitations will allow you to make sure it’s an asset to your practice.This is why we offer training and support alongside hire and sales of this equipment. It’s through experience and training that you can go from seeing squiggles on a screen to creating datasets that will potentially save lives through accurate mapping of what lies beneath.
Slab analysis with the Proceq GP8000


Stay up to date
Sign up now to receive the latest style emails, sale alerts and more.